Give Your AI Its Own Email Address (and Stop Lending It Your Identity)
Nyaradzo
November 10, 2026
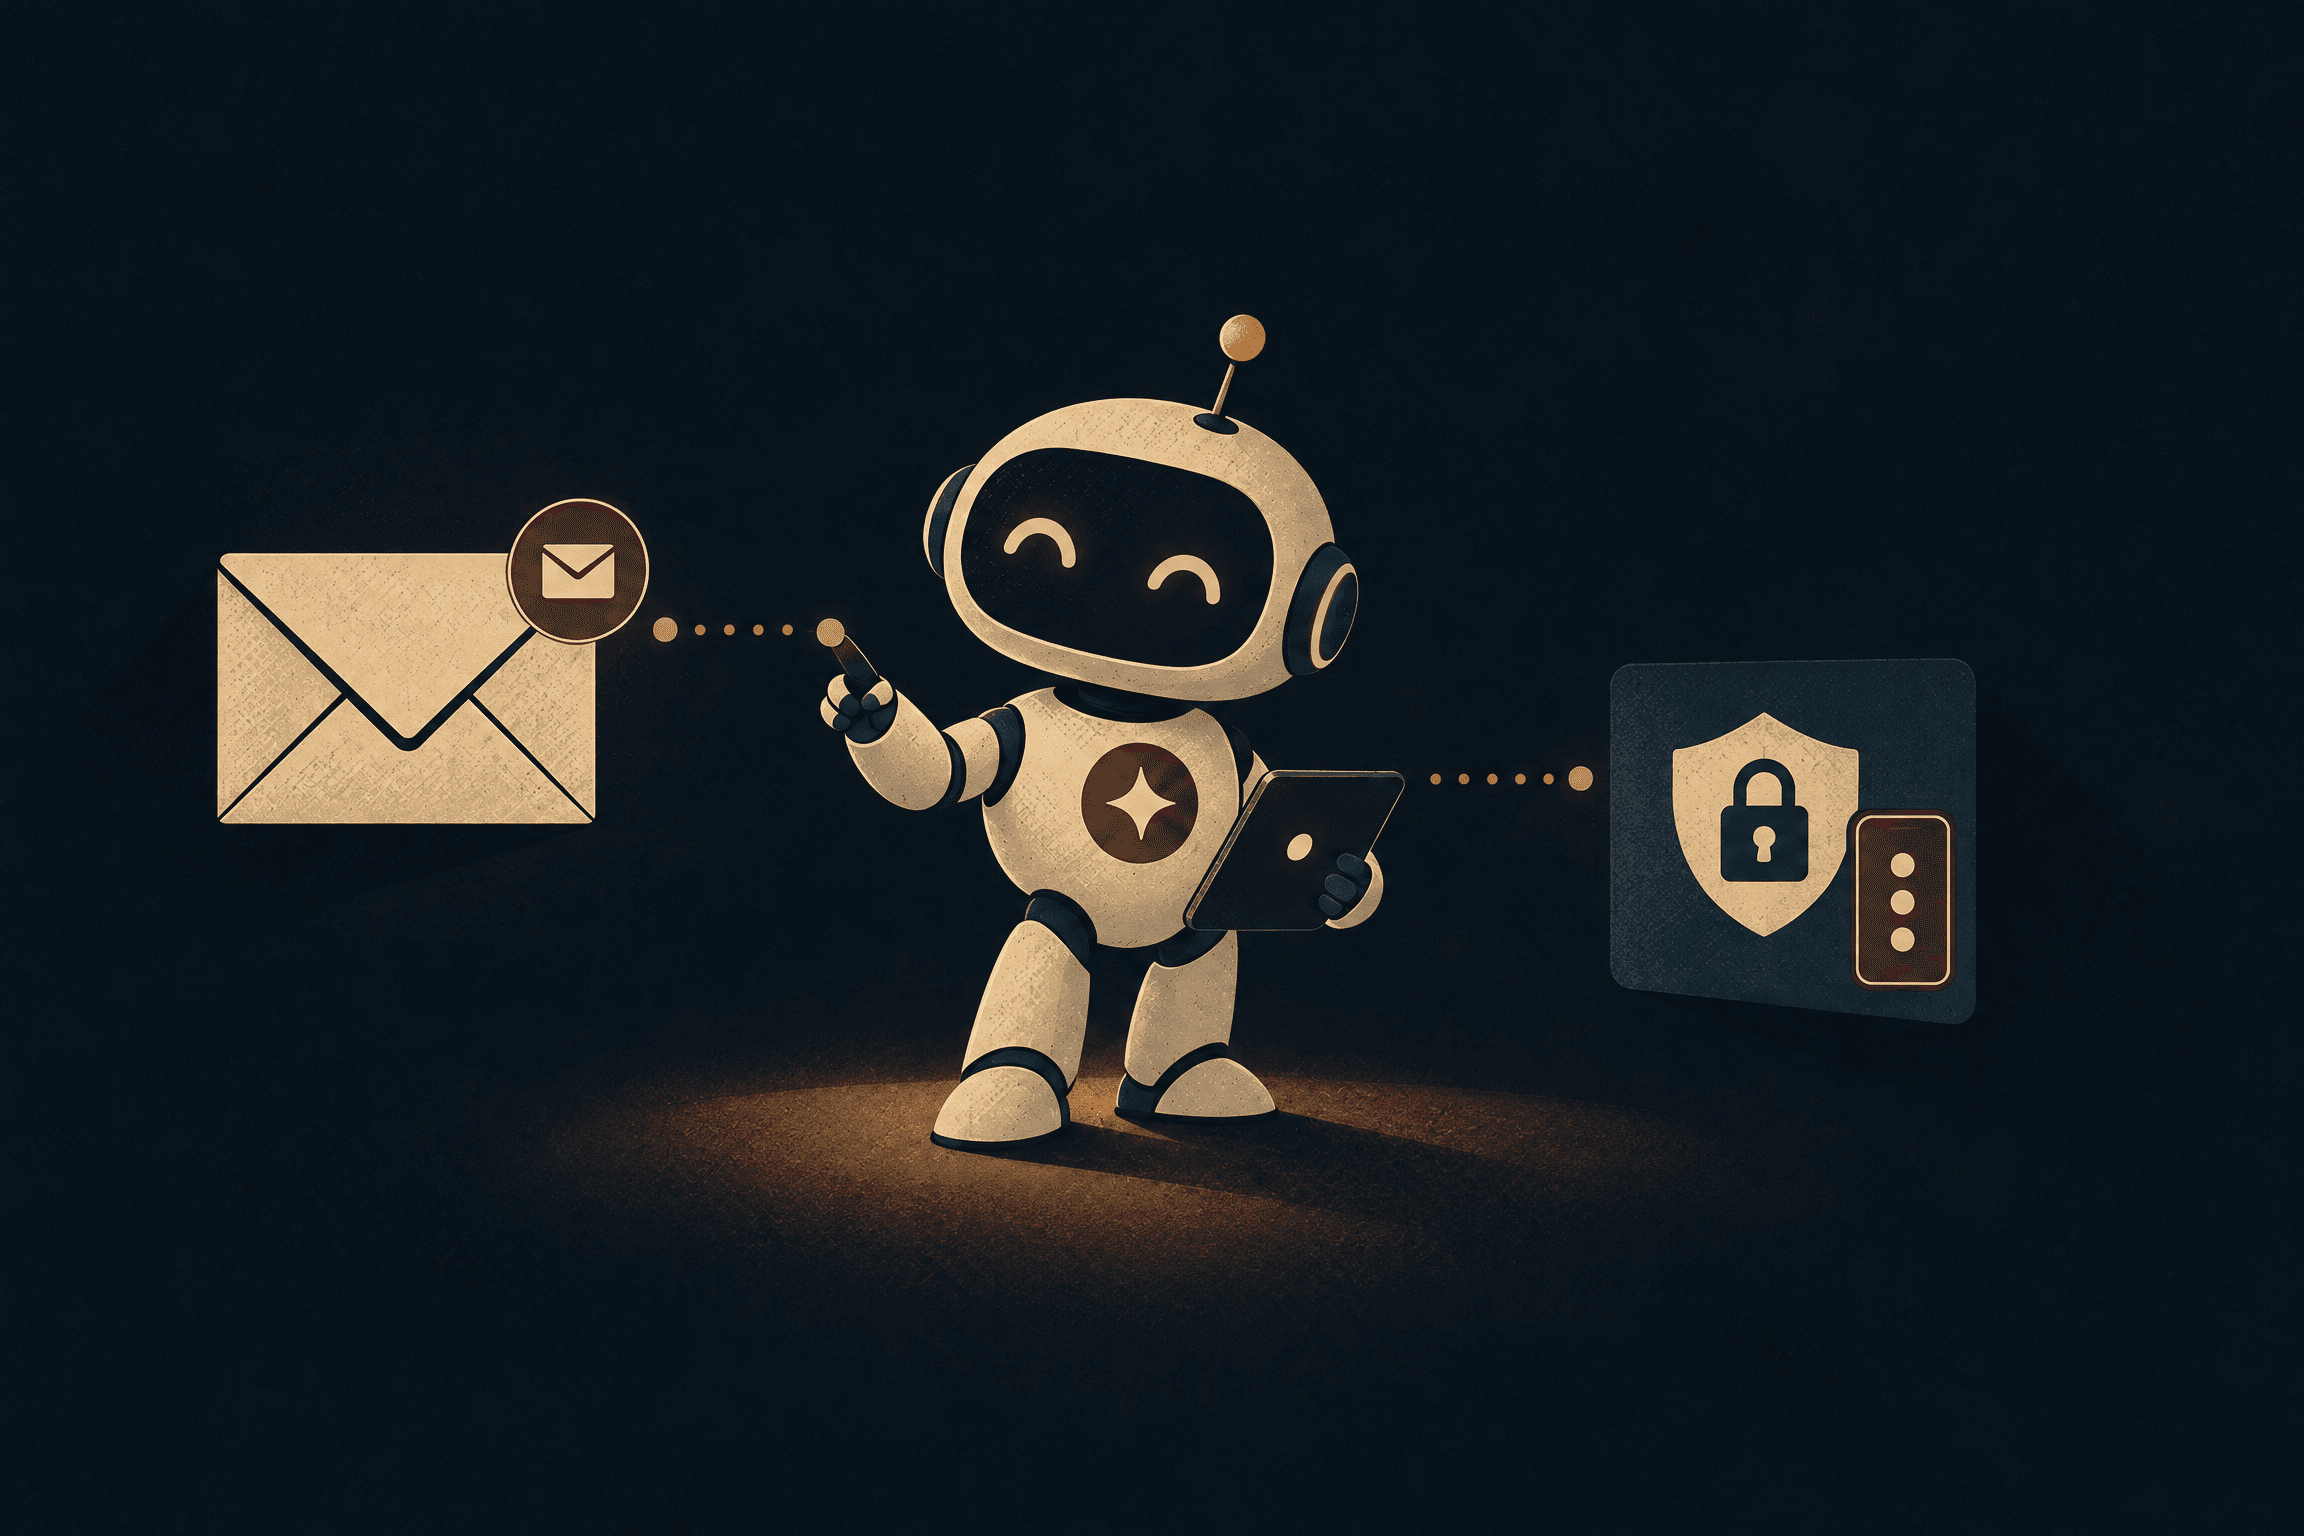
A question first. When your AI assistant opens your Google Drive, edits a Notion page, or drafts something in Canva, whose name is on that action?
If the answer is "mine," you're not using an assistant. You're lending it your identity.
That was me until recently. My AI assistants were signed in as me, in my personal accounts. On November 7, I fixed it. I made a dedicated email address just for my AI assistants so they could take a seat as their own user. I logged them out of my personal tools (Google Drive, Gmail, Notion, Canva, all of it) and moved them onto a separate "AI Team" account that I invited into my workspace, the same way I'd invite a person.
It's a small change. It completely changes who's accountable for what. Here's the full step-by-step guide, plus the onboarding checklist I use, so you can copy it.
Why This Matters
Here's the difference.
AI logged in as you: full access, no boundaries. It can open anything you can open. Every edit, share, and send looks like you did it. And if you ever want to take access away, you're changing your own passwords.
AI with its own email: a paper trail of every action it takes, under its own name. Access you can easily modify and revoke. It only sees what you invited it to.
You wouldn't hand a new hire your laptop and your password on day one. You'd give them their own login, add them to the tools they need, and decide what they can touch. Your AI deserves the same onboarding. So do you.
Let's set it up.
Step 1: Give It a Name and an Inbox of Its Own
Create a brand new email address that belongs only to your AI. A free Gmail account works fine. If you already have a business domain through Google Workspace or another email provider, you can add an address there instead.
Name it like you'd name any hire. Think assistant@, ops@, or a yourbusiness.ai style Gmail. Pick something that makes it obvious, to you and to anyone you collaborate with, that this account is your AI and not you.
A few things to set up while you're creating it:
- Display name. Use something clear like "[Your Business] AI Assistant" or "AI Team." This is the name that shows up in share notifications, comments, and edit history.
- Recovery email and phone. Use your own. You are the owner of this account, and you should always be able to get back into it.
- Profile photo. Optional, but a simple icon or logo makes its activity easy to spot at a glance.
If you're on Google Workspace and add the AI as a user on your domain, that can count as a paid seat. Check your plan before you do it. A free Gmail avoids that question entirely.
Step 2: Store Its Credentials in a Password Manager or Vault
Your AI's login is now a real business credential. Treat it like one.
- Save the email and a long, unique password in your password manager or vault. Don't reuse a password from any of your own accounts.
- Turn on two-step verification, and save the backup codes in the same vault entry.
- If your AI tool has its own secure way to store logins, use that instead of pasting the password into a chat or a doc.
- Never put the password in a Notion page, a Google Doc, or a message thread. If it's ever been pasted somewhere like that, change it.
The goal: you can hand the AI access without handing over your own keys, and you can change its keys any time without touching yours.
Step 3: Invite It Into Your Tools Like a Person
This is the part that makes it feel like a hire. Instead of signing your AI into your accounts, you invite its new email into your workspace, the same way you'd invite a teammate.
Here's what that looks like in the tools most of us use:
- Google Drive. Share only the specific folders it needs with the AI's address. A dedicated "AI Team" folder is a nice pattern. Avoid sharing your whole Drive.
- Gmail. Its own inbox is where it sends and receives as itself. If it truly needs to see some of your mail, think about a filter that forwards only those emails to its inbox, rather than giving it your Gmail login.
- Notion. Invite it to your workspace, or share specific pages or teamspaces with it. Notion lets you add someone as a full member or as a guest on just certain pages. Guest access on the pages it works in is usually enough.
- Canva. Invite the AI's address to your team or to specific designs and folders. Then it builds in your brand kit and templates under its own name.
- Slack. Invite it to only the channels it needs. On paid plans you can add it as a guest limited to certain channels instead of a full member.
Some tools count every invited person as a seat on your plan. Before you invite, check how your plan handles members versus guests so there are no surprises.
Once the invites are accepted, sign the AI into each tool with its account. From now on, every action it takes shows up under its own name.
Step 4: Decide What It Can Touch, and What Stays Off Limits
Inviting it in is half the job. The other half is setting its permissions on purpose. Default to the smallest access that lets it do the job, and add more only when you see a reason.
I think about it in three buckets:
Edit access, only where you trust it. The folders, pages, and designs it actually works in. For example, the Notion database where it drafts content, or the Canva folder where it builds carousels.
View-only, where you want oversight. Things it needs to read but shouldn't change. Reference docs, brand guidelines, past campaigns, your content calendar.
Off limits. Your personal accounts. Your finances. Anything you didn't invite it to. If it's not shared with the AI's address, it simply can't see it.
A quick gut check for each permission: if this got changed, deleted, or shared by mistake, how bad would that be? The bigger the answer, the smaller the access should be.
Step 5: Sign Yourself Out of Everything It Was Using as You
This is the step people skip, and it's the whole point. If your AI is still logged in as you anywhere, it can still act as you there.
Go through every place your AI was connected:
- Browser sessions it was using. Sign out of your accounts there and sign back in with the AI's account.
- Connectors and integrations inside your AI tool. Disconnect the ones linked to your personal Google, Notion, Canva, or Slack, and reconnect them with the AI's account.
- Connected apps lists in your own accounts. Google, Notion, Slack, and Canva all show which apps and sessions have access. Remove anything that was there for your AI.
- If you ever shared your own password with your AI, change it now.
When you're done, the only way your AI gets into your stuff is through the doors you opened for its own account in Step 3.
Copy and paste this prompt into your AI to have it do the sign-out with you:
I'm moving you off my personal accounts and onto your own account.
Your email is [AI's email address]. Please do the following and
stop to check with me before each step:
1. List every tool, app, connector, and browser session where
   you're currently signed in or connected as me, using my
   personal email.
2. For each one, sign out of my account or disconnect it. Don't
   delete any files, messages, or data while you do this.
3. Tell me which of those tools you'll need again, so I can invite
   your own account into them.
4. Once I've sent the invites, sign back in or reconnect using
   only your own account.
5. Give me a final list of every tool you're now in, which account
   you're using for each one, and any place where you're still
   signed in as me.
Step 6: Give It a Job Description
You'd never onboard a hire without telling them what the role is. Write a short note for your AI's instructions or settings:
- What it's responsible for.
- Which tools and folders it works in.
- What it should never do. For example: never publish, never send from your personal inbox, never share files outside your workspace.
- When to stop and ask you first.
Keep it short and plain. You can always add to it as you learn how it works.
Step 7: Review Its Access Regularly
Access piles up quietly. A folder shared for one project, a channel it joined once, an edit permission you meant to downgrade.
Put a recurring reminder on your calendar, monthly or quarterly, and check:
- What's shared with the AI's address in Google Drive, Notion, Canva, and Slack, and whether it still needs each one.
- Whether any edit access can drop to view-only.
- The activity and edit history under its name, so you can see what it's actually been doing.
- Whether its password and two-step verification are still in your vault and up to date.
And if you ever stop using a particular assistant, offboard it like you would a person: remove it from every workspace, then close or lock its account.
Here's a prompt to paste into your AI each time your review comes up:
It's time for your access review. Please go through every tool you
use and give me a report with:
1. Every tool, workspace, folder, and channel you have access to,
   and which account you're using for each one.
2. What level of access you have in each one (edit, comment, or
   view-only).
3. Anything you haven't used in the last 30 days that I could
   remove.
4. Anything where you have edit access but only need to view.
5. Any place where you're still signed in or connected as me
   instead of your own account.
6. A short summary of what you did in each tool since the last
   review.
Don't change any access yourself. Just give me the list, and I'll
decide what to remove.
What You Get
Once you've done this, you have:
- A clear paper trail. Every edit, comment, and share is labeled with the AI's name, not yours.
- Boundaries you chose on purpose, instead of "everything I can see."
- Access you can modify or revoke in a couple of clicks, without changing your own passwords.
- Your identity back.
This is how you hire AI as a team member.
The AI Onboarding Checklist
Copy this into Notion, your notes app, or wherever you keep your to-dos, and check it off as you go.
Set up its identity
- Create a new email just for your AI (a free Gmail works)
- Name it like a hire (assistant@, ops@, or a yourbusiness.ai style name)
- Set a clear display name, like "[Your Business] AI Assistant" or "AI Team"
- Add your own email and phone as recovery so you always own the account
Secure its credentials
- Create a long, unique password
- Turn on two-step verification
- Save the login and backup codes in your password manager or vault
- Make sure the password isn't sitting in any doc, page, or chat
Invite it into your tools like a person
- Google Drive: share only the folders it needs
- Gmail: let it send and receive from its own inbox, and forward only the emails it truly needs
- Notion: invite it as a guest or member on just the pages or teamspaces it works in
- Canva: invite it to your team or to specific designs and folders
- Slack: add it to only the channels it needs
- Check how each plan counts members versus guests before inviting
- Sign the AI into each tool with its own account
Set permissions on purpose
- Edit access only where you trust it
- View-only where you want oversight
- Personal accounts and anything you didn't invite it to stay off limits
Sign yourself out
- Sign out of your personal accounts in any browser your AI uses
- Disconnect connectors linked to your accounts and reconnect them with the AI's account
- Remove your AI from the connected apps lists in your own Google, Notion, Canva, and Slack
- Change any of your passwords your AI ever had
- Run the sign-out prompt from Step 5
Give it a job description
- Write what it's responsible for
- List the tools and folders it works in
- List what it should never do
- Say when it should stop and ask you
Review regularly
- Put a monthly or quarterly access review on your calendar
- Remove anything it no longer needs
- Downgrade edit access to view-only where you can
- Skim the activity under its name
- Run the access review prompt from Step 7
- Offboard it fully if you stop using it
Start with Step 1 today. It takes a few minutes, and it's the difference between an AI that pretends to be you and an AI that works for you.
Want More Systems Like This
This is the kind of system I break down every week inside Disgustingly Paid, my community for people building real income with AI. We go deeper than a blog post: live workflows, prompt packs, and the exact setups I use to run my AI team.
Join Disgustingly Paid on Skool